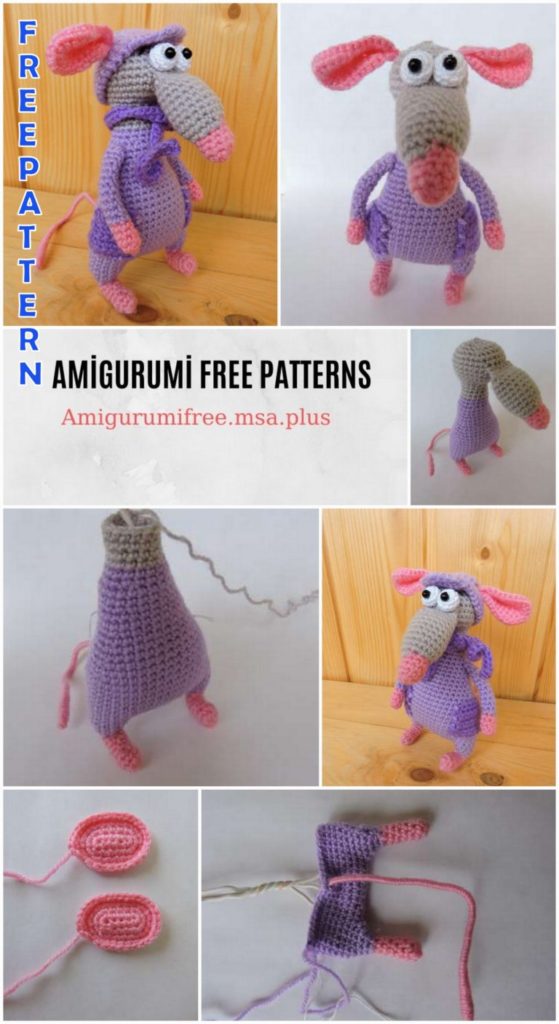
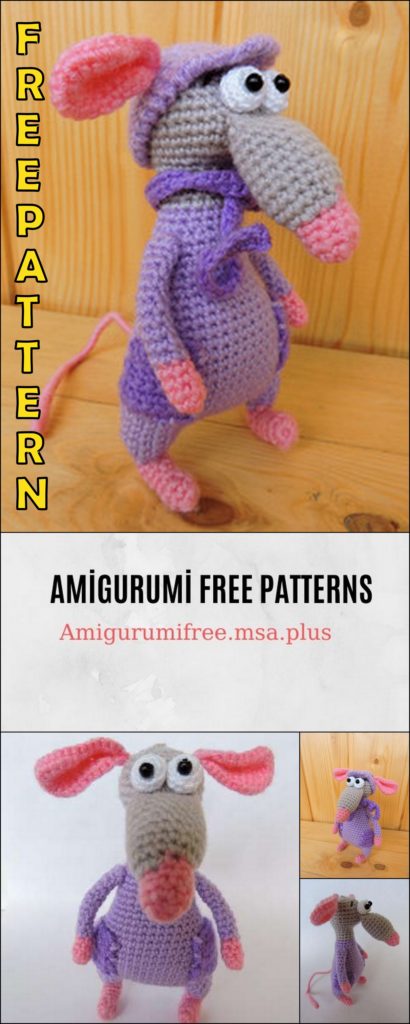
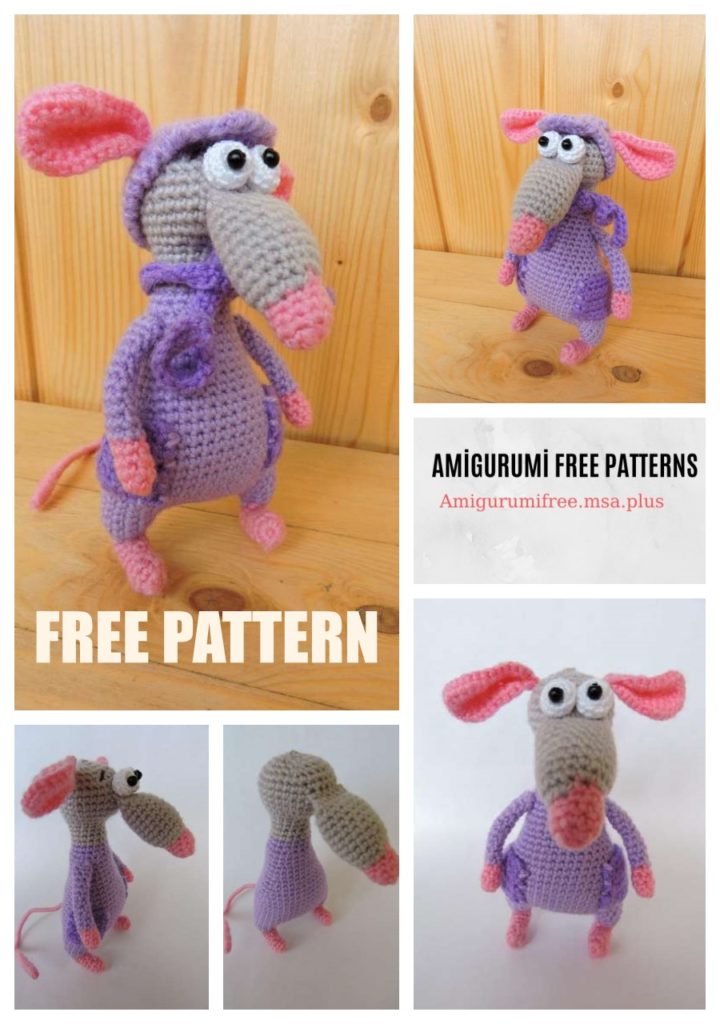
Cute Mouse Amigurumi Free Crochet Pattern
Pinterest Offical Page : Amigurumfree.msa.plus
Facebook Group: Amigurumi Free Patterns
Facebook Offical Page: Amigurumfree.msa.plus
In this article I will share a wonderful amigurumi pattern again. You can enjoy this beautiful amigurumi cute mouse free english pattern.
Materials:
yarn “Children’s novelty” gray, pink, lilac flowers
yarn “pehorka openwork” 280m / 50gr white for the eye
two black beads for pupils
wire diameter 0.5 mm for the frame
abbreviations
Mr = Magic ring
sc = single crochet
inc = Increase
dec = decrease
sl-st = slip-stitch
dc =double crochet
Pattern
Nose
Knit with a pink thread
1. Magic ring into 6sc
2. (1sc, inc) x3 (9)
3-5. 9sc
Knit with a gray thread
6.9inc (18)
7-14. 18sc
15. (1sc, dec) x6 (12)
16. fold the part in half,
we knit for both fabrics 6sc.
Fasten the thread, cut.
Pens
Knit with a pink thread
1. Magic ring into 6sc
2-4. 6sc
Knit with a thread of lilac color
5-14. 6sc
Fasten the thread, cut
leaving a long end for stitching.
Fold the part in half and sew at the top
parts for both canvases.
Do not stuff pens.
Eyes
Knit with a white thread
1. Magic ring into 6sc
2.6inc (12)
3-4. 12sc
5.6dec (6)
Fasten the thread, cut it off, leaving a long end for embroidery.
Ears
Knit with a pink thread
1.6ch., From the second loop on the hook 4sc, 3sc to the last loop, 3sc, inc (12)
2.inc, 3sc, 3inc, 3sc, 2inc (18)
3.1sc, inc, 3sc, (1sc, inc) x3.3sc, (1sc, inc) x2 (24)
4. 2sc, inc, 3sc, (2sc, inc) x3.3sc, (2sc, inc) x2 (30)
Fasten the thread, cut it off, leaving a long end for embroidery.
Tail
Cut a piece of inc wire 25 cm long.
Wrap 12 cm inc wire with a pink thread, inc
glue the wire as it wraps.
Legs
Knit with a pink thread
1. Magic ring into 6sc
2-7. 6sc
Knit with a thread of lilac color
8. 6sc
9.3inc, 3sc (9)
10.1sc, 3inc, 5sc (12)
Fasten the thread, cut.
On the second leg we do not cut the thread,
and inc continue to knit.
We cut two pieces of inc wire 20 cm long,
wrap the ends with adhesive tape and
insert into the legs.
Do not stuff the bottom of the legs.
Body
Connect the legs
11. 5sc on the second leg, 9ch, count on the first leg 5 loops from the beginning
rows, inc connect the thread to the 6th loop, knit 12sc along the first leg, 9sc across
ch, 7sc on the second leg (42)
12-17. 42sc
18. 31sc, inc lay tail, 11sc (42)
19-20. 42sc
We twist three incovers.
İnc anoint the glue on the inside of the tail with glue.
21.1ch, dec, 16sc, dec, 1sc, dec, 16sc, dec, 1sc (38)
22.38sc
23. dec, 14sc, dec, 1sc, dec, 14sc, dec, 1sc (34)
24. 34sc
25. dec, 12sc, dec, 1sc, dec, 12sc, dec, 1sc (30)
26.30sc
27. dec, 10sc, dec, 1sc, dec, 10sc, dec, 1sc (26)
28-29. 26sc
We bite off two inco-shells, leave one inco-shell, which will go to
head, wrap this place with a band-aid.
30. dec, 8sc, dec, 1sc, dec, 8sc, dec, 1sc (22)
31-32. 22sc
33. dec, 6sc, dec, 1sc, dec, 6sc, dec, 1sc (18)
34. 18sc
Knit with a gray thread
35. 18sc
36. (4sc, dec) x3 (15)
37-38. 15sc
Head
39. (4sc, inc) x3 (18)
40. 3sc, 6inc, 9sc (24)
İncibjects should be in the middle of the front of the head.
İnc and need inc knit mixing loops.
41.6sc, 6inc, 12sc (30)
42-43. 30sc
We knit a nose
44.11sc, 6sc over nose and head, 13sc (30)
45-46. 30sc
We bite off the extra inc wire, wrap the end with a band-aid.
47. (3sc, dec) x6 (24)
48. (2sc, dec) x6 (18)
49. (1sc, dec) x6 (12)
50. 6dec. Fasten the thread, cut, tighten the hole.
Pockets
1. 7ch, from the second loop on the hook 6sc, 1ch, turn
2-7. 6sc, 1ch, turn.
Scarf
1. 81ch, from the second loop on the hook 80sc
Cap
1. 7ch, from the second loop on the hook 6sc, 1ch, turn
2-10. 6sc, 1ch, turn
11.6sc
12.10ch, 6sc for loops 1., 10ch, 6sc for loops 11. (32)
13.10sc by ch, 6sc, 10sc by ch, 6sc (32)
14. 32sc, ss, 1ch, rotation
15.6sc, 1ch, rotation
16-17. 6sc, 1ch, turn
18. tie the cap around the perimeter with a crab step.
Assembly
Sew over the nose eyes.
Sew bead pupils to the eyes.
Sew on the ears.
We embroider the eyebrows.
Sew pens to the body.
We tint the cheeks.
Sew pockets on the sides.
We tie a scarf, put on a cap.
Our rat is ready.
